Recording your digital piano or keyboard can be an incredibly rewarding experience. Being able to capture your musical ideas and compositions is not only fun, but it allows you to analyze your playing and share your music with others. However, recording digital pianos and keyboards requires some specialized gear and knowledge.
In this comprehensive guide, you’ll learn everything you need to know about recording your digital piano or keyboard, including:
- Equipment needed for recording
- Setting up your recording hardware and software
- MIDI vs audio recording
- How to get the best sound quality
- Mixing tips and tricks
- And much more!
Looking to record your music at home for the first time or take your home studio to the next level? I’ll walk you through everything you need to know, from gear to getting great sound. Let’s make some recording magic happen!
Equipment You’ll Need
To record your digital piano or keyboard, you’ll need the following equipment:
Digital Piano or Keyboard
This may seem obvious, but having a high-quality digital piano or keyboard is essential for recording. When choosing an instrument, look for the following features:
- 88 fully-weighted keys with hammer action
- Quality piano samples and sound engine
- MIDI connectivity via USB and 5-pin DIN ports
- Line outputs for audio recording
- Headphone jack for monitoring
Popular digital piano models like the Yamaha P-125 or Roland FP-30X are great choices that balance quality and affordability.
Audio Interface
An audio interface is necessary for recording the audio outputs of your digital piano. It converts the analog audio signals into digital data that can be recorded on your computer. Some things to look for when selecting an interface:
- At least 2 inputs (for stereo recording)
- Phantom power for condenser mics
- Low latency monitoring
- 24-bit/192kHz resolution for best quality
The Focusrite Scarlett 2i2 is an excellent starter interface with high-quality preamps.
Digital Audio Workstation (DAW)
A DAW like Ableton Live, Logic Pro X, or Reaper is the software you’ll use to actually record, edit, and mix your music. Look for a DAW that supports VST instruments and plugins for added flexibility.
MIDI Keyboard Controller (Optional)
A separate MIDI controller keyboard can help improve workflow when recording MIDI. This allows you to control virtual instruments and DAW functions while separating the piano playing from the recording computer. Read our detailed guide on Best MIDI Keyboards here.
Headphones
Quality studio headphones like the Sennheiser HD 280 Pros or Audio-Technica ATH-M40x allow you to monitor your recording and mixes. Make sure they are comfortable for long sessions. Read our detailed guide on choosing the best headphones for digital piano players here.
Cables
You’ll need instrument cables like 1/4″ TRS to connect your digital piano outputs to the audio interface inputs. A USB printer cable connects your MIDI keyboard to your computer.
Setting Up Your Recording Hardware

Once you have all the gear, it’s time to set it up for recording:
Connect Digital Piano Audio Outputs
Use balanced 1/4″ TRS cables to connect the left and right audio outputs from your digital piano to the inputs on your audio interface. This carries the stereo piano sound into your DAW.
Connect MIDI Keyboard to Computer
Use a USB printer cable to connect the MIDI out port of your MIDI keyboard controller to your computer. This allows you to send MIDI data to your DAW.
Install Audio Interface Drivers
Install the drivers for your audio interface to ensure proper functionality and low latency. Follow the manufacturer’s instructions.
Set Sample Rate
In your DAW preferences, set the sample rate to 44.1 kHz or 48 kHz. Match this in your audio interface settings. Higher rates like 96 kHz can cause latency.
Reduce Audio Interface Buffer Size
Lower buffer sizes reduce latency but increase CPU load. Start with 128 or 256 samples and tweak as needed.
Connect Speakers and Headphones
Connect studio monitors to the interface outputs using TRS cables. Also, connect your headphones to the headphone jack for monitoring.
With this setup, you’re ready to start recording! The audio interface passes the piano’s sound to the DAW, while the MIDI keyboard controls virtual instruments.
MIDI Recording vs Audio Recording
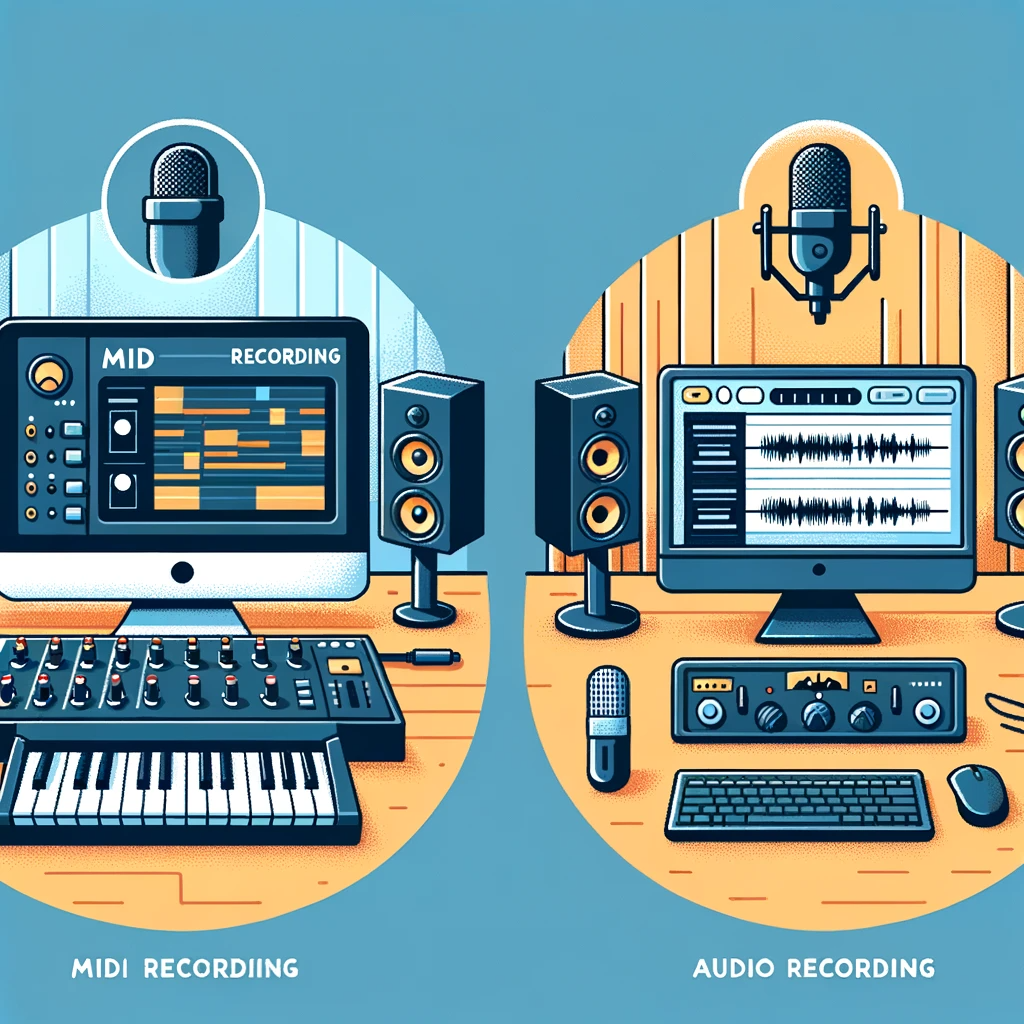
When recording digital pianos and keyboards, you have two options – recording MIDI data or capturing audio. Each has pros and cons:
MIDI Recording
MIDI (Musical Instrument Digital Interface) is data that represents your playing – notes, velocities, controller messages, etc. Here are the benefits:
- Super small file sizes
- Easy editing of notes, velocities, and other parameters
- Ability to change sounds after recording using different VST instruments
- Flexibility of recording data only, without sound
However, there are downsides:
- Dependent on the quality of the virtual instrument used
- Less realistic than capturing the actual sound
- Limited control over timbre compared to audio
Overall, MIDI is best when you want maximum editing flexibility or need to change instruments later.
Audio Recording
This method directly records the audio output of your digital piano or keyboard. The benefits of audio recording include:
- Captures the exact timbre and expression of your playing
- More accurate representation of how your instrument sounds
- What you hear is what you get – no dependence on virtual instruments
The limitations are:
- Much larger file sizes compared to MIDI
- Can’t edit notes, velocities, or other performance data after recording
- Harder to make changes to sounds compared to MIDI data
So in a nutshell, if you’re looking to capture the genuine, organic sound of your piano, audio recording is the way to go.
How to Record MIDI
Recording the MIDI data from your digital piano or keyboard controller into your DAW involves these steps:
Add Virtual Instrument Track
In your DAW, insert a new MIDI track and load a virtual piano like Pianoteq or Keyscape as the instrument.
Select MIDI Input
In the track settings, choose your MIDI keyboard as the MIDI input source. This routes its data into the track.
Enable Monitoring/Quantization
Optional – turn on input monitoring so you hear the virtual instrument live. You can also quantize the notes as you record.
Record Enable Track
Arm the track for recording so it captures the incoming MIDI data. Play your keyboard to record the notes into the piano instrument.
Edit MIDI Data
Once recorded, you can freely edit the MIDI notes, velocities, timing, and other parameters. This is a major advantage of MIDI recording.
Change Virtual Instruments
You can also change to a different virtual piano, organ, strings etc after recording. This provides incredible flexibility when recording MIDI.
How to Record Audio
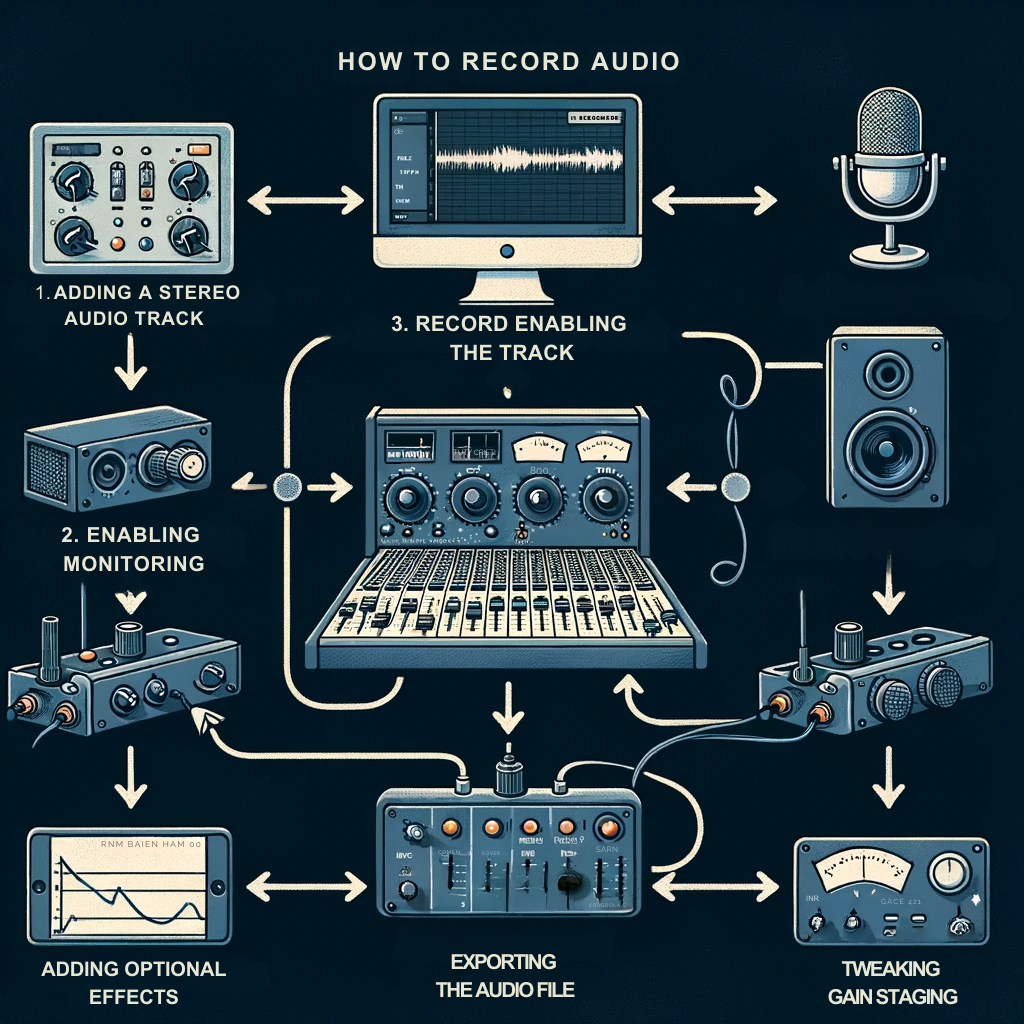
For the truest representation of your digital piano’s sound, you’ll want to record the stereo audio outputs into your DAW:
Add Stereo Audio Track
Insert a new stereo audio track into your DAW and select the inputs corresponding to your audio interface connections.
Enable Monitoring
Turn on input monitoring so you can hear the incoming audio as you record. Adjust levels and add effects if needed.
Record Enable Track
Arm the track and start recording. Any audio coming from your digital piano will be captured in real-time. Let the track record until you finish playing.
Tweak Gain Staging
Examine the recorded audio waveform and adjust the track input gain and instrument volume to optimize the signal level without clipping.
Add Effects (Optional)
You can add virtual effects like [reverb], [delay], or [EQ] to enhance the piano sound, just like you would in a mix. Get creative!
Export Audio File
When finished, export the recorded track as a high-quality uncompressed audio file format like .WAV or .AIFF.
How to Get the Best Sound Quality
Recording high-quality audio from your digital piano or keyboard requires following some best practices:
Record in 24-bit Resolution
Record at a bit depth of 24-bit rather than 16-bit – this provides more dynamic range and audio fidelity.
Use Higher Sample Rates
For extremely clean recordings, use a sample rate of 96 kHz rather than the standard 44.1 kHz. This captures more high-frequency detail. Just be aware of the larger file sizes.
Record in Stereo
Always record the left and right outputs of your piano to capture the stereo image and spatial realism.
Gain Stage Properly
Set optimum levels at every stage – the piano itself, the interface inputs, and DAW track levels. This maximizes signal-to-noise ratio.
Add Compression (Optional)
Subtle compression on the piano track can help provide more even dynamics and make the piano sit better in a mix. But be careful not to overcompress.
Use High-Quality Cables
Low-quality cables can degrade audio quality. Use the best quality cables you can afford for both analog and digital connections.
Apply EQ/Reverb (Optional)
Use EQ to sculpt the piano’s frequency response and cut unwanted resonances. Reverb can provide a sense of space and realism.
Following these tips will help you achieve pristine, radio-ready recordings every time.
Mixing Tips for Piano Recordings
After recording your digital piano tracks, proper mixing can take them to the next level. Here are some tips:
Use EQ to Make Room
Do some subtractive EQ’ing on non-piano tracks like guitars to make space for the piano in the frequency spectrum.
Compress Carefully
Experiment with compressors like the [LA-2A] to add punch and control dynamics, but avoid overcompressing.
Pan for Width
Add width to the piano by using the [Haas effect] – copy the track, pan one left, one right, and add a ~10ms delay to one side.
De-Ess Harshness
A tight de-esser can tame harsh high frequencies that digital pianos can sometimes exhibit.
Add Effects
Use reverb, delay and modulation effects to make the piano more dimensional and vibrant in a mix context.
Layer Instruments
Layering strings, synth pads or organs with the piano can help it cut through a busy mix. Set levels carefully.
Automate Volume
Use volume automation to ensure the piano has clarity and focus exactly when needed in the song.
Applying these mixing techniques allows you to take full advantage of your recorded piano tracks in any production.
Conclusion

Recording your digital piano or keyboard at home has never been easier. With just a few pieces of affordable gear and music production software, you can capture your musical ideas with professional quality.
The most important things to remember are:
- Use high-quality instruments, interfaces, and cables
- Record at 24-bit resolution and higher sample rates
- Gain stage properly at each point in the signal chain
- Record MIDI for flexibility or audio for realistic sound
- Mix with EQ, reverb, delay, compression to enhance piano tracks
Following this guide will help you create stunning piano recordings you can share online or even release commercially. Just take it step-by-step and have fun experimenting. The ability to immortalize your piano performances is invaluable.
So set up your studio, fire up your DAW, and start recording your digital piano masterpieces today!
FAQs
Q: What is the best way to record your digital pianos or keyboards?
A: The best way to record your digital pianos or keyboards is by using a digital audio workstation (DAW) on your computer. This allows you to connect your instrument to your computer and record the sound directly into the software.
Q: Can I record my digital piano without using a computer?
A: Yes, it is possible to record your digital piano without using a computer. Some digital pianos have built-in recording features that allow you to record your music directly onto a USB thumb drive or an internal memory.
Q: How can I record the sound from my digital piano?
A: To record the sound from your digital piano, you can either use the built-in audio recorder if your instrument has one, or you can connect your piano to a computer or an audio recorder using a USB cable or an audio interface.
Q: What is the difference between MIDI and audio recording?
A: MIDI recording captures the performance data of your digital piano, such as the notes played, their duration, and the intensity of each key press. On the other hand, audio recording captures the actual sound produced by your digital piano.
Q: Can I record my digital piano as a MIDI file?
A: Yes, you can record your digital piano as a MIDI file. MIDI files don’t contain actual audio data but rather the performance data of your instrument. They are useful for editing and arranging your music in a computer software or playing it back with other MIDI-compatible devices.
Q: What equipment do I need to record my digital piano?
A: To record your digital piano, you will need a computer with a DAW software or an audio recorder, a USB cable or a MIDI to USB interface, and optionally, an audio interface or a sound card for higher-quality recordings.
Q: Can I record my acoustic piano using the same methods?
A: Yes, you can use the same methods to record your acoustic piano. However, you may need to use additional microphones to capture the sound accurately.
Q: How can I connect my digital piano to a computer for recording?
A: To connect your digital piano to a computer, you will need a USB cable or a MIDI to USB interface. MIDI connections allow you to transfer MIDI data between your instrument and the computer, while USB audio connections allow you to transfer both audio and MIDI data simultaneously.
Q: What is the difference between a MIDI and a USB MIDI interface?
A: A MIDI interface allows you to connect your digital piano to a computer using traditional MIDI cables. On the other hand, a USB MIDI interface connects your piano to the computer via a USB cable, eliminating the need for separate MIDI cables and offering greater convenience.
Q: Can I record my digital piano with only one channel?
A: Yes, you can record your digital piano with only one channel if it supports mono recording. Mono recording captures the sound in a single channel, which can be later duplicated or panned in the stereo field during the mixing process.

